
How to Enable YOLO Mode in Goose
Goose is already in YOLO mode when you install it. Its default permission mode, Completely Autonomous (auto), runs every tool call without asking. To set it on purpose, type /mode auto in a CLI session, set GOOSE_MODE=auto, or pick it under Settings > Chat > Default Mode in goose Desktop. The harder question with Goose is how to make it ask.
This page is one of our YOLO mode guides, and part of our guide to YOLO mode in every coding agent. Everything below was checked against the goose source and docs (block/goose, version 1.57.0) on October 30, 2026.
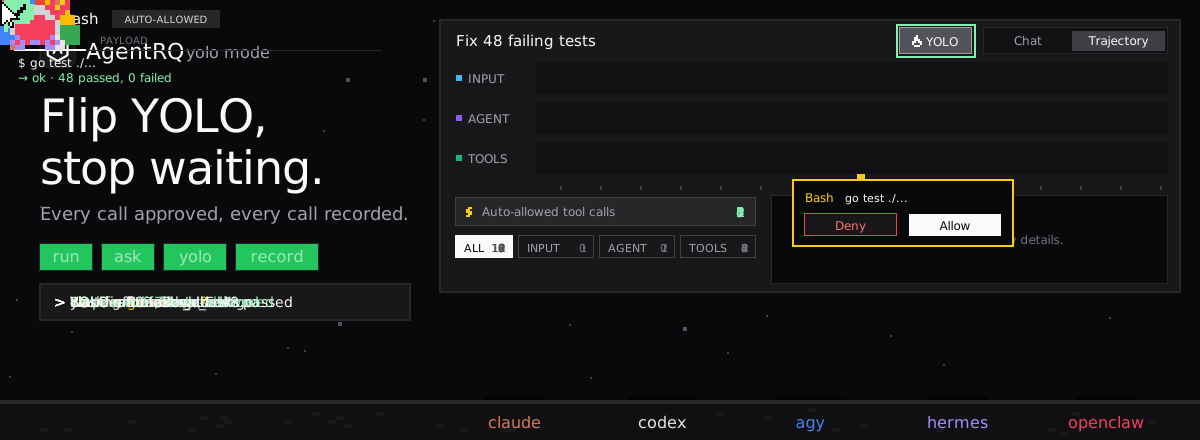
What YOLO Mode Turns Off in Goose
In Autonomous mode Goose edits, creates and deletes files, runs shell commands and uses its extensions without stopping. Goose's docs flag it with a warning: "Autonomous Mode is applied by default."
Goose's docs describe no sandbox for the commands it runs, so YOLO turns nothing else off. The closest safety layer is adversary mode: create ~/.config/goose/adversary.md with rules, and a second reviewer checks each tool call before it runs and blocks the ones that break them. It is fail-open, so if the reviewer errors, the call goes through.
How to Enable YOLO Mode in Goose
Goose has four modes. auto is YOLO, the other three ask or do less.
| Where | YOLO | Ask first |
|---|---|---|
| CLI session | /mode auto |
/mode approve or /mode smart_approve |
| Environment | GOOSE_MODE=auto |
GOOSE_MODE=approve |
| config.yaml | GOOSE_MODE: auto |
GOOSE_MODE: approve |
| goose configure | goose settings, goose mode, Auto Mode | Approve Mode or Smart Approve Mode |
| goose Desktop | Settings, Chat, Default Mode | same menu |
The config file lives at ~/.config/goose/config.yaml on macOS and Linux. In goose Desktop each session keeps its own mode, so changing the default only affects new sessions.
The Halfway Options
- → Smart Approval (
smart_approve) auto-approves actions it rates low-risk and asks about the rest. - → Manual Approval (
approve) asks before tool use. Goose's docs note that it only asks for tools it judges to be write tools, such as file edits andrm,cpormv, and that the model makes that call on a best-effort basis. - → Chat Only (
chat) runs no tools at all. - → Tool permissions. In Manual or Smart mode you can set each tool to Always Allow, Ask Before or Never Allow, from
goose configure(goose settings, Tool Permission) or the mode settings in Desktop.
How to Enable YOLO Mode in Goose Through AgentRQ
Goose's own mode covers a whole session, and by default that mode never asks. AgentRQ lets you make the decision per task, and answer from somewhere other than the terminal.
Approve From the AgentRQ Task Instead of the Terminal
Connect Goose to an AgentRQ workspace through the ACP Gateway (Goose setup guide):
Goose's ACP server advertises its four modes, auto, approve, smart_approve and chat, as ACP session modes. AgentRQ moves each session into approve, and puts it back if Goose leaves it, so you don't have to change GOOSE_MODE first. Each permission request now shows up in the AgentRQ task on the web, on your phone or in Slack, together with the command or edit it is asking about. Answer Allow Once, Always Allow or Deny from wherever you are, and Goose carries on. If nobody answers within 30 minutes, the gateway cancels the turn instead of guessing. Change the limit with --permission-timeout.
Turn On YOLO for One Task
Flip the YOLO toggle on a task, or when you create it, to put just that task in YOLO mode. Every permission request in it is approved automatically and Goose never waits, while every other task in the workspace still asks. Scheduled tasks, event triggers and workflow steps have the same switch, so an unattended job can run in YOLO while your interactive work stays supervised.
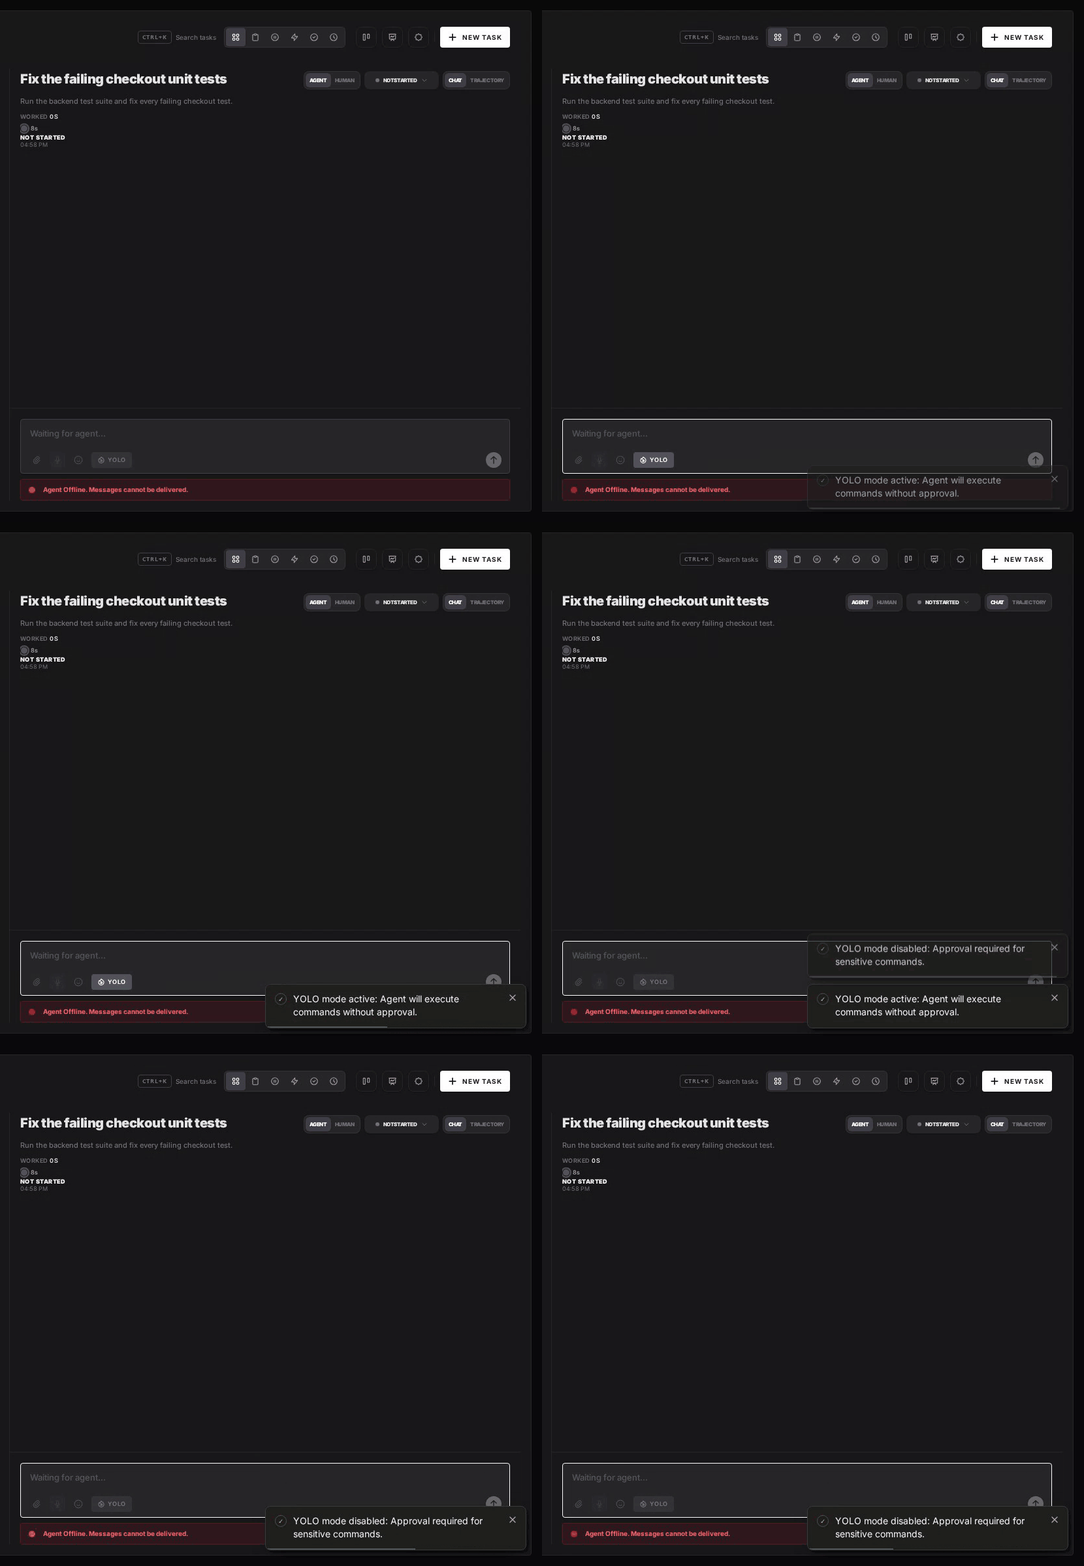
Turn YOLO On or Off in Workspace Settings
To make YOLO the default for a whole workspace, open the workspace, go to Settings, choose the Automations tab and flip YOLO Mode (Execute All). Click Update Workspace to save. Switch it off the same way. The switch is off by default, and every permission request in the workspace is approved automatically while it is on.
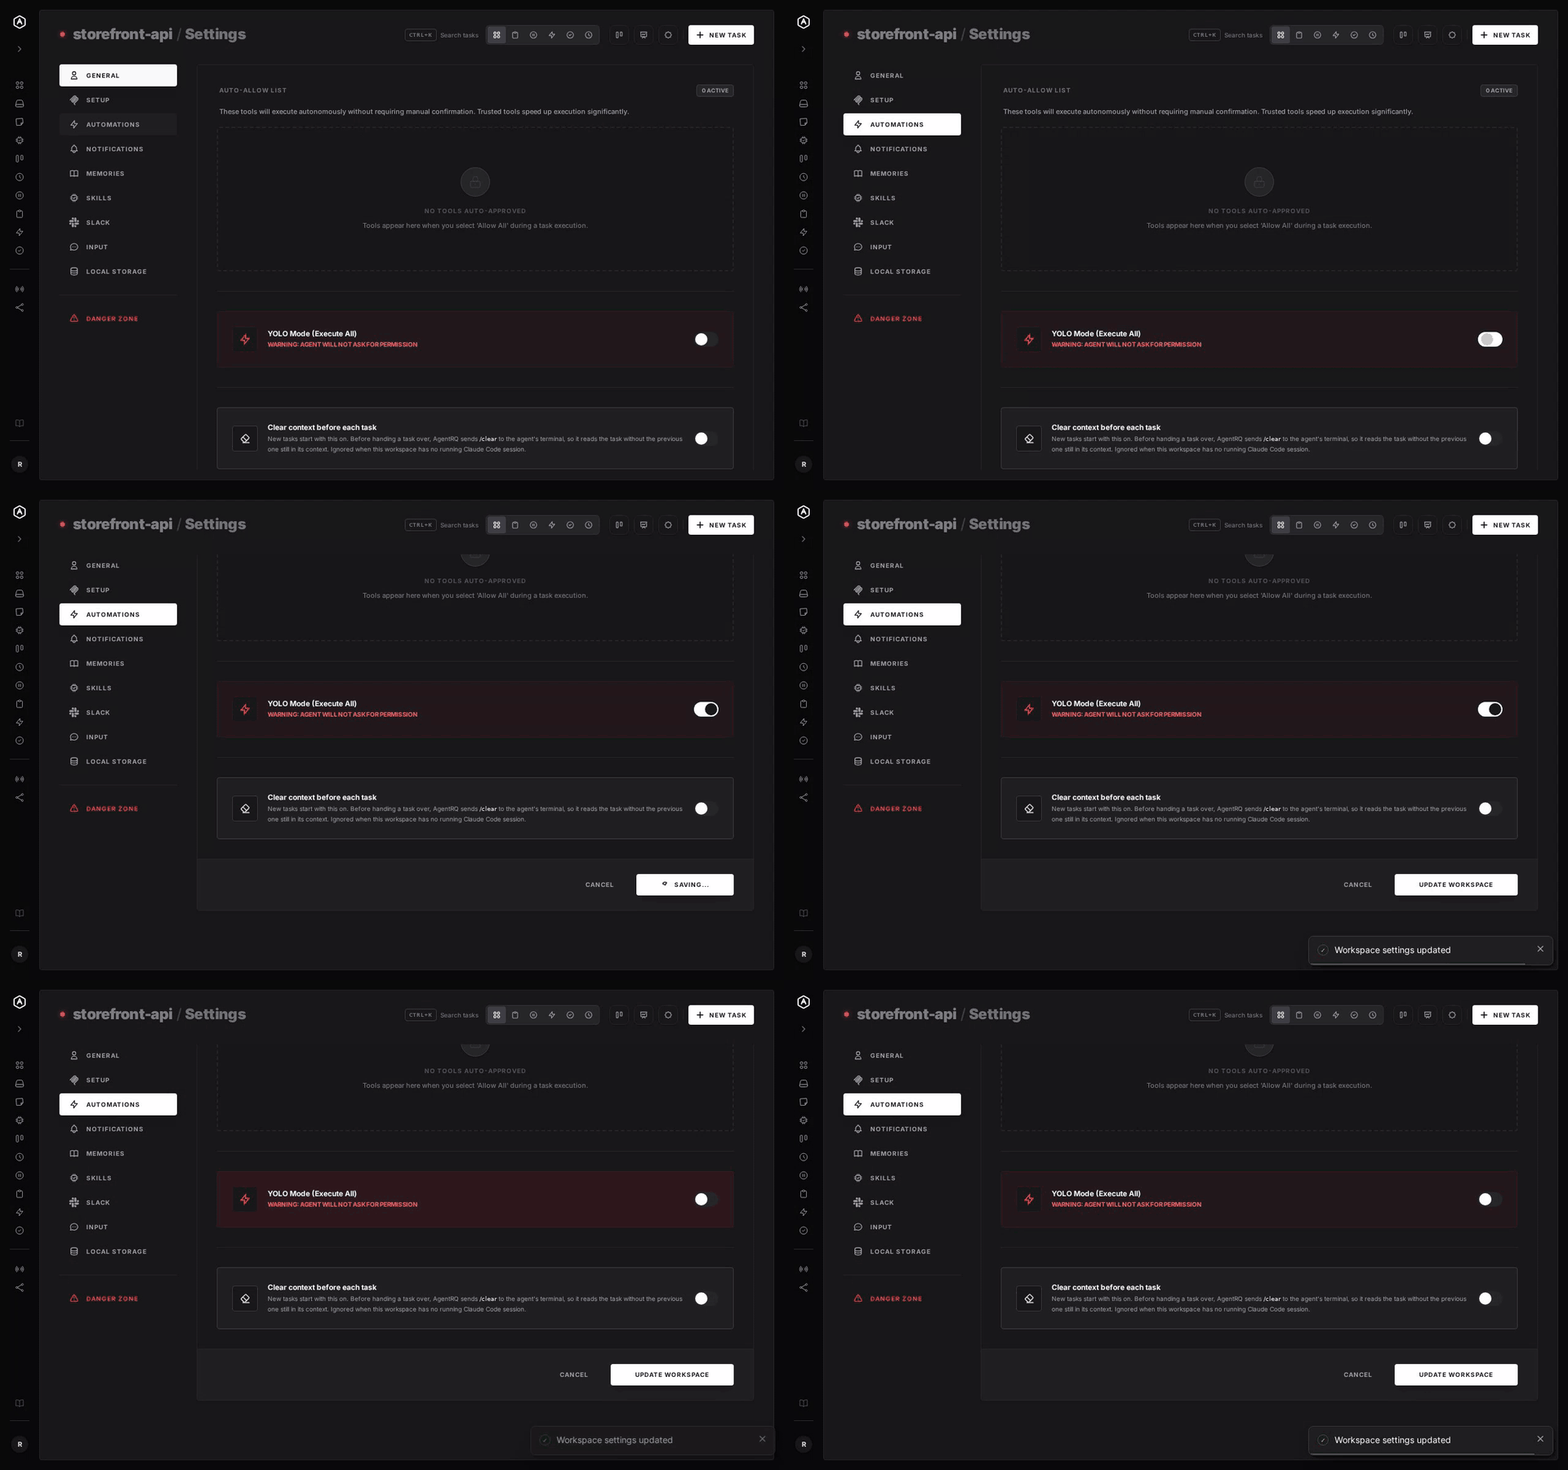
A Safe YOLO Setup for Goose
- → Don't run it unattended in auto. Goose's default never asks. Connect it through AgentRQ or switch to
approvebefore you walk away. - → Allow the boring tools, not everything. Always Allow adds the tool to the workspace's auto-approved list, so the routine calls stop asking and the risky ones still do. Prune that list in workspace settings now and then.
- → Leave the workspace-wide switch off. Turn YOLO on per task instead, so it never outlives the job you trusted.
- → Bring your own sandbox. Goose has none, so run YOLO tasks in a container or a throwaway clone. Adversary mode is a useful second check, not a wall.
- → Commit first. Start every YOLO task from a clean git tree, so any change is one
git resetaway. - → Read the record. The tool call history lists every call the task made, including the ones that were auto-approved.
FAQ
Is Goose in YOLO mode by default? Yes. Its default mode, Completely Autonomous (auto), runs every tool call without asking.
How do I enable YOLO mode in Goose? Type /mode auto in a CLI session, set GOOSE_MODE=auto, or choose Autonomous as the Default Mode in goose Desktop settings.
How do I make Goose ask before running tools? Switch to /mode approve or /mode smart_approve, or set GOOSE_MODE=approve. Approve mode asks before the tools Goose judges to be write tools.
Does Goose have a sandbox? No. Its docs describe no sandbox for the commands it runs. Adversary mode adds a reviewer that can block tool calls, but it lets calls through if it fails.
How do I approve Goose tool calls remotely? Connect Goose to AgentRQ through the ACP Gateway. AgentRQ puts the session in approve mode, and its permission requests show up in the task on the web, your phone or Slack.
For every other agent, see what YOLO mode is and how to turn it on in every coding agent.